Middle level ICT Integration
1st June 2024
Middle Level ICT of ICT Integration
 In todays session , we were taught about using of PhET simulation. I have never used it before. However, after exploring about it, I found it as a very useful tool when it comes to teaching and learning.
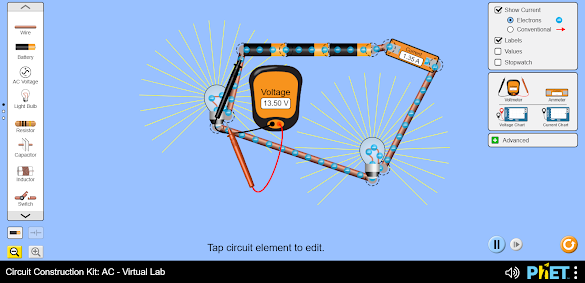
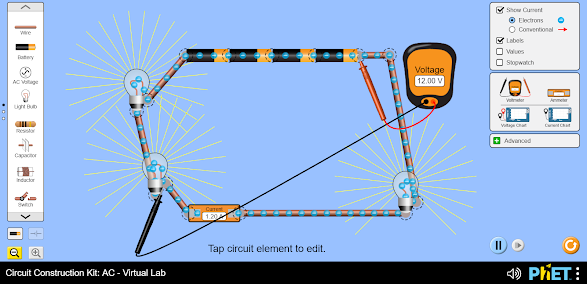
We have done a class activity using PhEt simulation which was very interesting. It was based on science subject. We were asked to construct a simple circuit by changing the number of wires, bulbs and battery. Then we were asked to measure the voltage and current when there is increase in the number of wires, bulbs and battery. Here are the pictures of the circuits that I have constructed using PHet simulation.
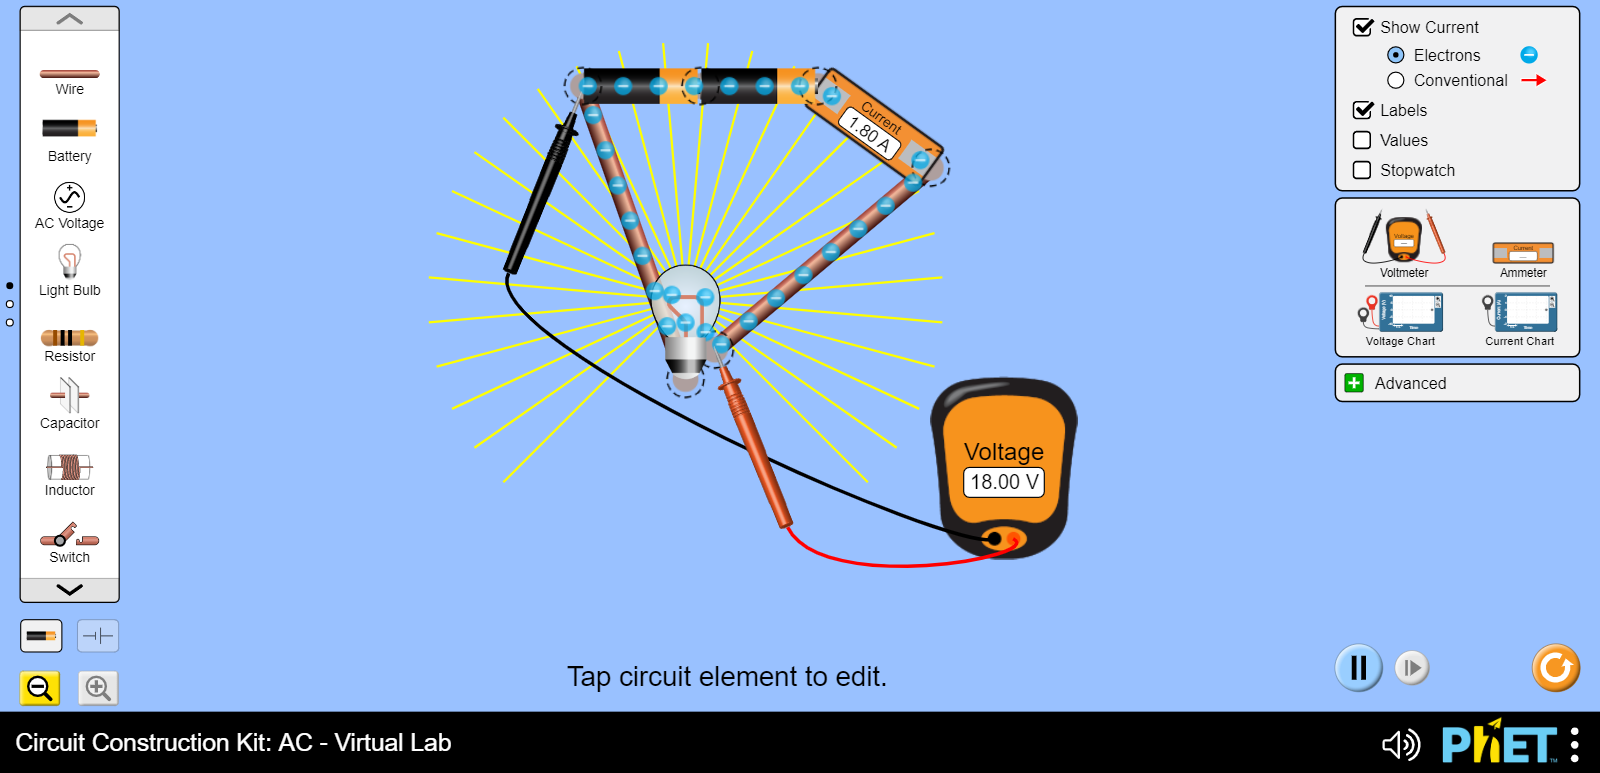
After doing this activity, I found PhET simulation very effective when it comes to teaching and learning all the concepts. I wanted to teach my students using PhET simulation so that they can visually understand the concept and make learning more effective.
Some of the advantages that we have discussed under the PhET simulation are;
- Interactive: Students can directly manipulate variables and observe the effects in real-time, fostering a deeper understanding of concepts.
- Accessible: PhET simulations are free, web-based, and require minimal setup, making them ideal for remote learning or individual exploration.
- Engaging: The interactive nature and colorful graphics can make learning more fun and motivating for students. more over, it also spark interest and curiosity among students, making the learning process more engaging and meaningful.
- Safe: Students can experiment without risk of injury or damaging materials as we don't have to do experiments physically.
- Varied Difficulty: Many PhET simulations offer adjustable difficulty levels, catering to students with different needs.
- Data Collection & Analysis: Some simulations allow students to collect and analyze data directly within the simulation environment.
5-Step Lesson Plan: Comparing Numbers
Subject: Mathematics Topic: Comparing Numbers
Strength: 32 Time: 40 Minutes
Class: III
Learning Objectives:
At the end of the lesson, the child will be able to;
- Students will be able to use the vocabulary "greater than," "less than," and "equal to" to compare numbers up to 10.
- Students will be able to identify the greater and lesser number using manipulatives and visual aids.
- Students will be able to record comparisons using the symbols "<", ">", and "=".
Materials:
- Large number cards (0-10)
- Counters (beans, cubes, etc.)
- Worksheet with blank comparison symbols ("<", ">", "=")
- Power point presentation
Opening (5 minutes)
- Warm-up: Play a quick counting game. Have students count together to 10 or sing a counting song.
- Introduce vocabulary: Show two objects (pencils, erasers) and ask students which one they have "more of" or "less of." Introduce the words "greater than," "less than," and "equal to" in simple terms. Make use gestures like holding your hands up high for "greater than" and low for "less than."
Introduction to New Material (10 minutes)
- Manipulatives: Show two large number cards (e.g., 3 and 7). Ask students which number has "more" counters. Use manipulatives to demonstrate the difference in quantity.
- Comparison symbols: Introduce the comparison symbols "<", ">", and "=". Explain that ">" means "greater than," "<" means "less than," and "=" means "equal to." I will be using PHet simulation to explain the concepts.
.png)
.png)
.png)
Guided Practice (5 minutes)
- Practice with cards: Show different number card combinations and have students hold up the correct symbol together (e.g., 4 > 2). Encourage students to explain their reasoning (e.g., "4 has more counters than 2")
Independent Practice (5 minutes)
- Worksheet: Distribute a worksheet with blank comparison symbols. Show two number cards and ask students to write the appropriate symbol between them. Students can draw pictures representing "greater than" or "less than" next to each other.
Extended learning activity (5 minutes)
- For students who need more support: Provide additional practice with manipulatives or use a smaller number range.
- For advanced students: Challenge them to compare numbers with a larger range (up to 15) or introduce word problems involving comparisons.
Follow up
- Observe students' participation in class activities and discussions.
- Review completed worksheets or drawings.
Closure (10 minutes)
- Review vocabulary: Briefly review the meaning of "greater than," "less than," and "equal to."
- Play a game: Play a quick game where students stand up if they hear a number "greater than 5" and sit down for "less than 5."
- Summarize: Briefly summarize the lesson and remind students that they can use comparison words and symbols to compare numbers.

Comments
Post a Comment